Have you ever thought to attach a camera on your Arduino? Well, today it's your lucky day because I can show you an example of you can connect the Linksprite camera to your Arduino.


Items:
- Arduino uno
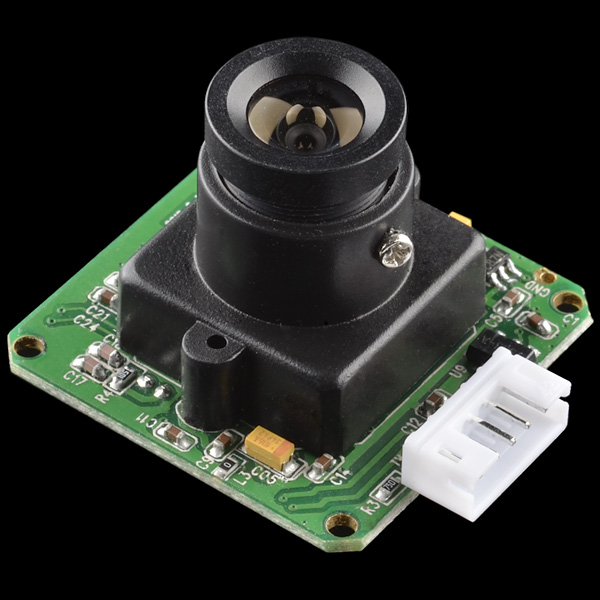
- Linksprite Camera JPEG
- SD Reader
Library:
- SD
- Adafruit VC0706 ( download )
2 => TX
3 => RX

When everything is connected, you need to open the Arduino IDE and try the example of Adafruit, make sure that the CS of the SD Reader it's the right one, otherwise you will not able to run the script.
You should see something like that:
When Arduino has finished to write the image on your SD Card, plug it on your computer and check the result.
**** ATTENTION *****
The example works only on Windows ( maybe OSX as well ).

